Projector Installation Walkthrough for Luxury Home Theaters
- garygarihanjr
- Sep 12, 2025
- 10 min read
Setting up a luxury home theater projector might sound straightforward, especially since more than 80 percent of home theater owners admit they’ve struggled with projector placement or screen size at least once. That seems surprising when you consider how much thought goes into choosing the right popcorn or sound system. But the real shock comes when people realize that the success of a home theater has less to do with expensive equipment and more to do with careful planning and precise measurements from the very first step.
Table of Contents
Quick Summary
Key Point | Explanation |
1. Measure Your Room Accurately | Precise dimensions impact projector choice and placement, ensuring optimal viewing angles and screen size. Use a laser tool for accuracy. |
2. Assess Room Lighting Conditions | Analyze natural and artificial light sources; managing light is vital for projector performance. Consider blackout curtains for darker environments. |
3. Choose Projector Based on Specific Needs | Projectors should have at least 4K resolution and sufficient lumens. Screen material plays a role in image quality; select wisely. |
4. Securely Mount Projector Hardware | Identify solid mounting points using tools to avoid drywall failure. Follow manufacturer guidelines for stability and safety. |
5. Calibrate Projector for Optimal Image | Perform keystone correction and color calibration for the best image quality. Use reference content to ensure accuracy and clarity. |
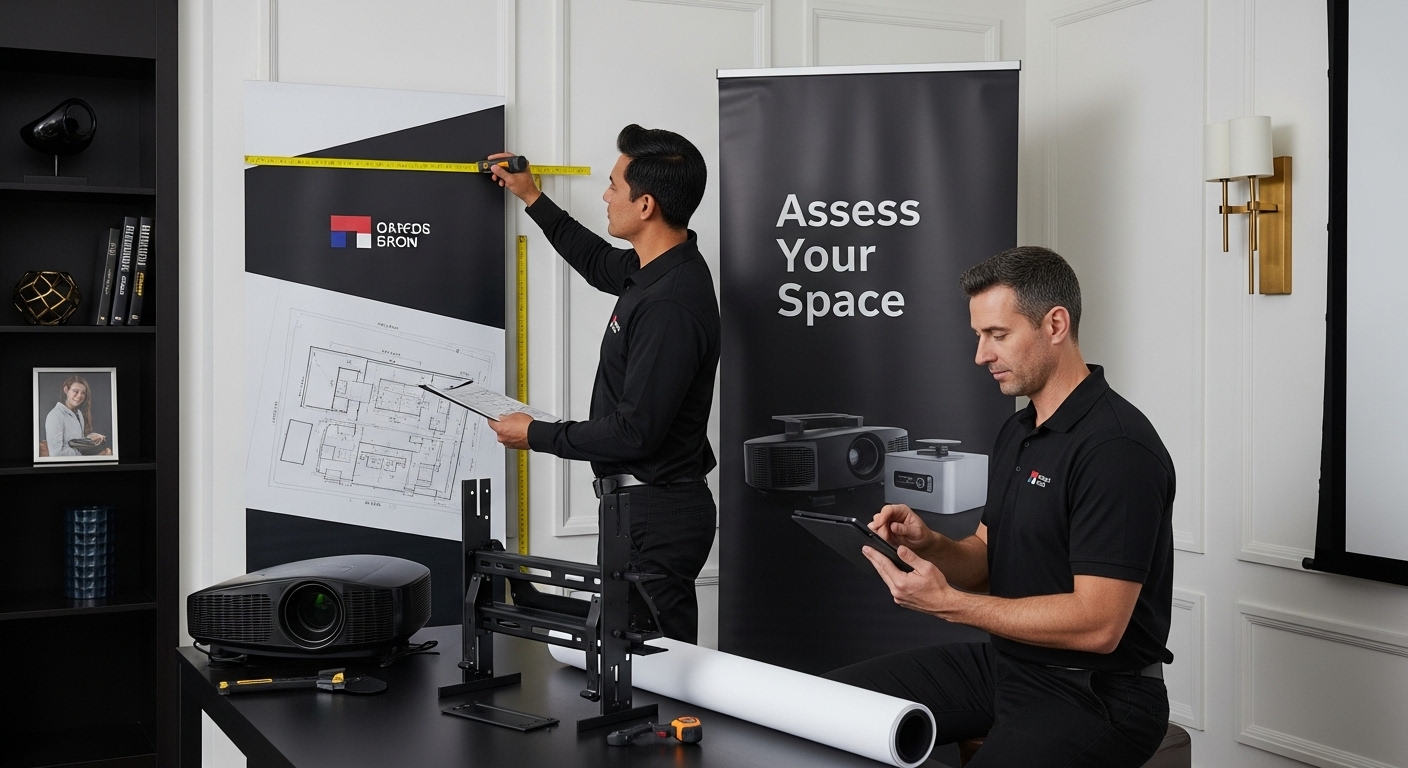
Step 1: Assess Your Space Requirements
Preparing for a luxury home theater projector installation begins with a meticulous space assessment that will determine the success of your entire audio-visual setup. This critical first step involves understanding your room’s physical characteristics, lighting conditions, and potential technological constraints.
Start by measuring your room’s dimensions precisely. Wall length, ceiling height, and available projection surface are fundamental considerations that will directly impact your projector selection and placement. A typical home theater requires careful measurement to ensure optimal screen size and viewing angles. Use a laser measuring tool for accuracy, recording measurements down to the inch.
Lighting plays a crucial role in projector performance. Analyze your room’s natural and artificial light sources. Dark rooms with minimal ambient light provide the best projection quality, but most residential spaces require strategic light management. Consider window placements, room orientation, and potential light-blocking solutions like blackout curtains or strategically placed blinds. According to Carnegie Mellon University’s Computing Services, professional technology integration requires thoughtful environmental assessment.
Room configuration demands comprehensive evaluation beyond simple measurements. Examine potential mounting locations for your projector - ceiling mount, rear wall projection, or shelf placement each offer unique advantages. Factor in seating arrangements, ensuring unobstructed sightlines and comfortable viewing distances. Typically, seating should be positioned 1.5 to 2.5 times the screen’s diagonal width for immersive experience.
Lastly, assess your electrical infrastructure. Modern projectors require dedicated power circuits and strategic cable management. Verify available electrical outlets, consider potential need for additional circuits, and plan cable routing to maintain a clean, professional installation. Your thorough preliminary assessment sets the foundation for a spectacular home theater experience.
Below is a concise summary of the essential tools and materials needed for successfully installing a luxury home theater projector, along with their purposes.
Tool/Material | Specification/Type | Purpose |
Laser Measuring Tool | Digital, precise to inch | Obtain accurate room and screen dimensions |
Stud Finder/Electronic Detector | For walls/ceiling | Locate solid mounting points for projector |
Mounting Hardware | Manufacturer-specific/professional-grade | Secure projector to wall or ceiling |
Digital Level | Horizontal/vertical | Ensure projector and mount alignment |
High-Quality HDMI Cables | 4K compatible, gold-plated | Transfer video/audio signals with clarity |
Cable Management Accessories | Fabric sleeves, zip ties | Organize and secure all cabling installations |
Torque Wrench | Calibrated | Properly tighten mounting screws |
Blackout Curtains/Blinds | Light-resistant | Manage room lighting for optimal projection |
Step 2: Choose the Right Projector and Screen
Selecting the perfect projector and screen transforms your home theater from ordinary to extraordinary, creating an immersive visual experience that rivals commercial cinema environments. The right combination requires careful consideration of multiple technical and aesthetic factors that extend far beyond simple equipment purchasing.
Resolution and brightness become critical decision points when evaluating projectors. Look for models offering at least 4K resolution with high lumens ratings appropriate to your room’s lighting conditions. Higher lumens compensate for ambient light, ensuring crisp, vibrant images even in spaces with moderate illumination. Professional installations typically recommend minimum 2,000 lumens for spaces with some natural light, while dedicated dark rooms can work effectively with 1,500 lumens.
Screen selection demands equally strategic thinking. Projection screen materials significantly impact image quality, with matte white surfaces providing optimal color reproduction and uniform light reflection. Consider screens with specialized coatings that enhance contrast and reduce glare. Acoustic transparent screens offer an additional benefit, allowing speaker placement directly behind the projection surface for seamless sound integration. According to Diamond Certified, professional home theater designs prioritize screens capable of handling high-resolution content while maintaining exceptional visual clarity.
If you want to explore more ways to enhance your home entertainment setup, check out our guide on must-have home theater features. When choosing your projector and screen, remember that compatibility is paramount. Measure throw distances carefully, ensuring your selected projector can adequately fill the screen without distortion. Consider motorized screens for flexible installations, allowing seamless transitions between movie experiences and standard room functionality. Your goal is creating a system that looks stunning and performs flawlessly across various content types.
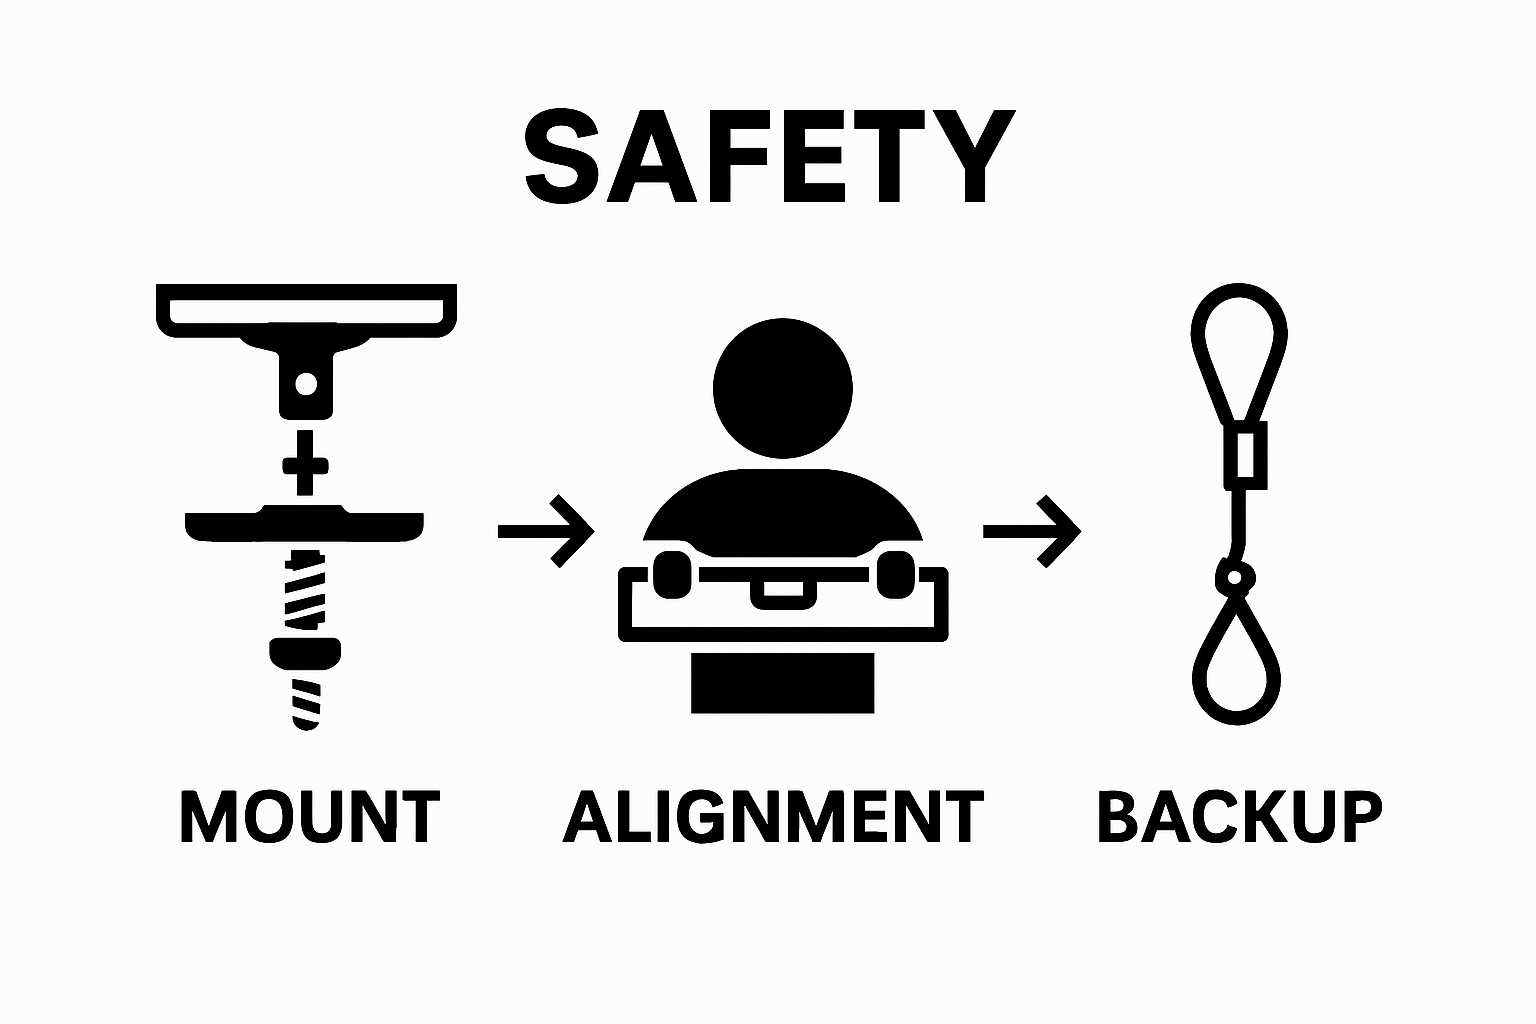
Step 3: Install Mounting Hardware Securely
Securing your projector mounting hardware represents a critical phase in home theater installation that demands precision, technical skill, and unwavering attention to safety. Proper mounting ensures not just aesthetic perfection but critical equipment protection, preventing potential catastrophic failures that could damage expensive projection systems.
Begin by thoroughly examining your ceiling or wall structure, identifying robust mounting points capable of supporting your projector’s total weight. Stud finders and electronic detection tools become invaluable in this process, helping locate solid structural supports beyond surface-level materials. Wooden studs, concrete anchors, or steel support beams provide the most reliable mounting foundations. Avoid drywall-only installations, which lack sufficient structural integrity for heavy audio-visual equipment.
Select professional-grade mounting hardware specifically designed for your projector model and weight specifications. Universal mounts might seem convenient, but precision-matched equipment guarantees optimal stability and alignment. According to Indiana University’s Audio Visual Systems Standards, professional installations require manufacturer-recommended support mechanisms that distribute weight evenly and minimize potential structural stress.
Precision installation involves multiple critical steps. Use a digital level to ensure absolute horizontal and vertical alignment, preventing image distortion. Pre-drill mounting holes carefully, using drill bits slightly smaller than mounting screws to prevent structural weakening. Apply thread-locking compound to mounting hardware to prevent gradual loosening from vibration. Torque mounting screws to manufacturer specifications, typically using a calibrated torque wrench to achieve consistent, safe tension. Consider adding supplemental safety cables as a backup support mechanism, creating an additional layer of protection against potential mounting failures.
Final verification includes testing mount stability by gently applying pressure from multiple angles, checking for any wobbling or instability. Your goal is creating a rock-solid foundation that will support your projector seamlessly through years of cinematic enjoyment.
This table provides a quick guide to common projector mounting problems, their causes, and practical solutions based on steps covered in the article.
Problem | Possible Cause | Solution |
Projector is unstable or wobbly | Inadequate mounting support, weak drywall | Locate solid structural mounts, use correct hardware |
Image appears slanted or distorted | Poor projector alignment | Re-align mount using digital level; perform keystone correction |
Mounting screws loosen over time | Vibration or improper torque | Apply thread-locking compound; use torque wrench to manufacturer specs |
Projector image out of focus | Poor physical positioning | Reposition mount, adjust focus, use laser level |
Visible cables clutter appearance | No cable management system | Install cable sleeves, ties, or raceway channels |
Step 4: Connect All Necessary Cables and Devices
Connecting cables and devices represents the intricate nervous system of your home theater, transforming individual components into a seamlessly integrated audio-visual experience. Proper cable management and connection protocols determine the quality of your entertainment setup, requiring methodical attention to technical details and potential compatibility challenges.
High-quality HDMI cables form the backbone of modern home theater connections, supporting 4K resolution and advanced audio transmission. Select cables rated for high-speed data transfer, preferably with gold-plated connectors that resist corrosion and ensure consistent signal quality. When connecting multiple devices like gaming consoles, streaming devices, and sound systems, consider using an AV receiver as a central hub, which simplifies connections and provides more sophisticated routing options.
Cable organization becomes as crucial as the connections themselves. Use cable management systems like fabric sleeves, zip ties, or raceway channels to create clean, professional installations that prevent tangling and potential signal interference. Strategic cable routing minimizes visual clutter and reduces potential technical complications. Pay special attention to cable lengths, ensuring sufficient slack for device movement while avoiding excessive loose cabling that can create tripping hazards or aesthetic disruptions.
If you encounter connectivity challenges during your installation, our guide on smart home troubleshooting steps can provide additional support. According to the University of Minnesota, always verify device display settings and ensure proper source selection on your projection system. Test each connection individually, confirming audio and video quality before finalizing your setup. Systematic testing prevents potential issues and guarantees a professional-grade home theater experience that meets the highest standards of performance and reliability.
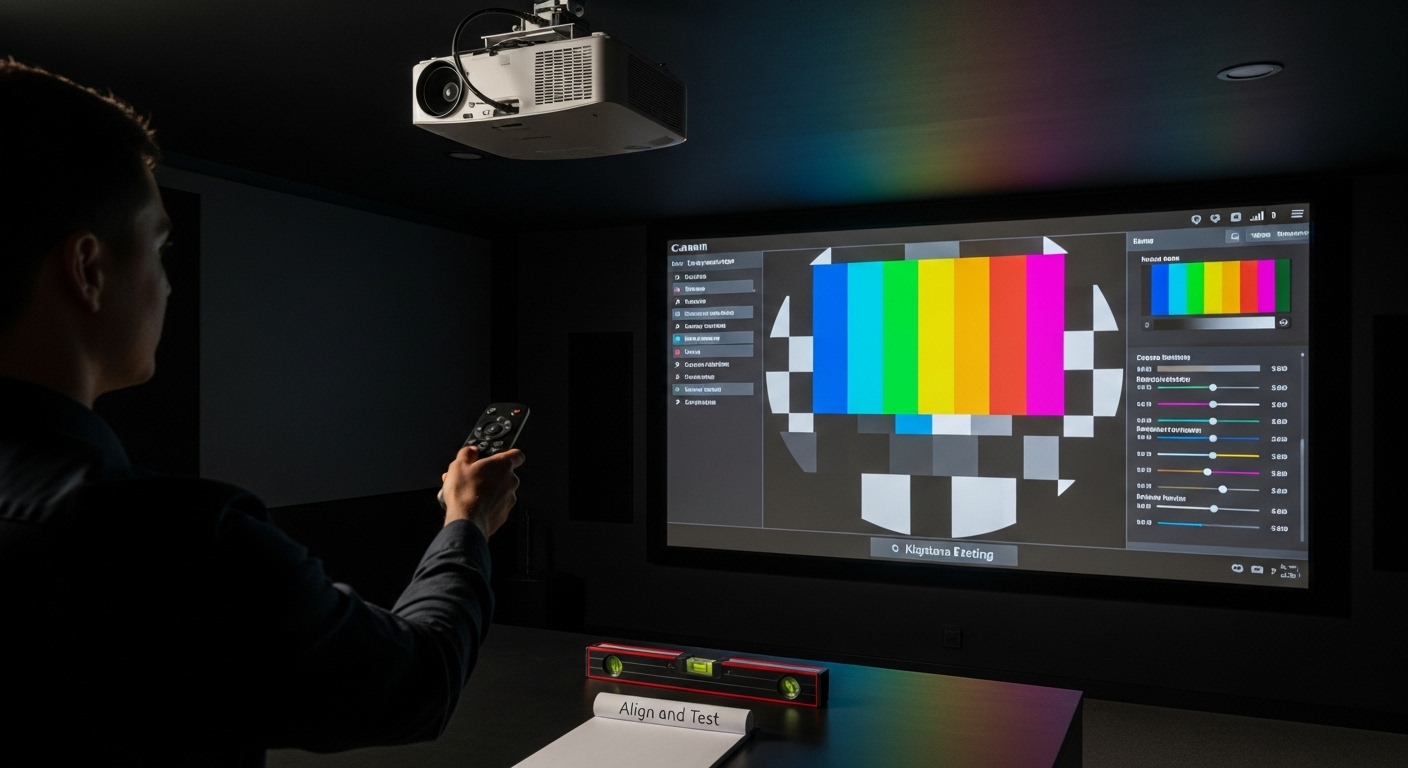
Step 5: Align and Test Projector Settings
Projector alignment transforms good home theater installations into extraordinary visual experiences, requiring meticulous calibration and precision. Achieving perfect image projection demands systematic testing and careful adjustment of multiple technical parameters that influence overall visual performance.
Keystone correction becomes your primary alignment tool, allowing you to compensate for projector placement variations that might create trapezoidal image distortions. Most modern projectors offer digital keystone adjustment through onscreen menus, enabling vertical and horizontal corrections. However, physical positioning remains preferable to digital correction, as excessive digital keystone adjustment can compromise image resolution and clarity. Use a laser level to establish absolute horizontal and vertical reference points, ensuring your projector mount provides the most natural alignment possible.
Color calibration represents another critical aspect of projector configuration. Access your projector’s advanced color settings, adjusting parameters like brightness, contrast, color temperature, and gamma levels. Professional calibration tools can provide precise measurements, but visual testing with high-quality reference content works effectively for most home installations. Utilize reference video content featuring diverse color ranges and detailed scenes to verify color accuracy and balance. Neutral gray test patterns help fine-tune brightness and contrast settings, preventing washed-out or overly saturated images.
According to the National Oceanic and Atmospheric Administration, allowing projectors to stabilize for 15-20 minutes before final calibration ensures more accurate settings by accounting for thermal stabilization. Systematic testing involves checking image uniformity across the entire screen, verifying that colors remain consistent from edge to edge. Pay special attention to focus, using focus adjustment tools to create sharp, crisp images that reveal intricate details. Your goal is creating a projection system that delivers cinema-quality visuals with professional-grade precision.
Step 6: Finalize Setup and Adjust for Optimal Viewing
The final phase of home theater projector installation transforms technical precision into an immersive entertainment experience, requiring nuanced adjustments that elevate visual and acoustic performance. Viewing geometry becomes the cornerstone of your home theater’s sensory impact, determining how viewers will perceive and interact with the projected content.
Seating placement represents a critical component of optimal viewing configuration. Professional home theater designers recommend positioning primary seating between 1.5 to 2.5 times the screen’s diagonal width, creating an immersive yet comfortable viewing angle. Consider creating multiple viewing zones if your space allows, ensuring each seat experiences similar visual quality. Strategically arrange furniture to minimize potential light reflections and maintain clear sightlines to the projection screen.
Sound integration completes the sensory experience, demanding meticulous speaker placement and calibration. Position surround sound speakers to create a balanced acoustic environment, typically forming an equilateral triangle with the primary seating area. Center channel speakers should align directly with the screen’s center, while rear speakers create depth and dimension. Many modern AV receivers offer automated calibration systems using included microphones, which measure acoustic characteristics and automatically adjust speaker levels for optimal sound performance.
According to Indiana University’s Audio Visual Systems Standards, final verification involves comprehensive system testing across multiple content types. Play high-quality movie scenes, video game sequences, and sports broadcasts to confirm color accuracy, sound clarity, and overall system responsiveness. Pay special attention to transitions between dark and bright scenes, which can reveal subtle calibration imperfections. Your goal is creating a home theater environment that delivers consistent, professional-grade audiovisual performance, transforming your space into a personal entertainment sanctuary.
Transform Your Home Theater Vision Into Reality
Building a luxury home theater is an exciting journey, but the technical hurdles can quickly become overwhelming. From precise room measurements and projector alignment to advanced screen selection and flawless cable integration, every detail must be perfect to achieve the breathtaking results you deserve. If you are struggling with these complex home theater installation steps or worried about achieving true cinema-quality audio and video at home, you are not alone. Many homeowners find that balancing technology, aesthetics, and comfort requires specialized expertise.

Why settle for anything less than perfection in your entertainment space? Let the experts at Techology Experts take the guesswork out of your luxury projector setup. Our team delivers personalized solutions for custom home theater installation and smart home automation, ensuring every element is engineered for peak performance and seamless integration. Schedule a consultation now to experience the ultimate in home entertainment. Your dream theater is just one expert upgrade away.
Frequently Asked Questions
How do I assess my space requirements for a home theater projector installation?
To assess your space, measure the room’s dimensions, including wall length and ceiling height. Consider the projection surface’s size and orientation. Evaluate lighting conditions, such as natural and artificial light sources, and think about potential light-blocking solutions. Room configuration and electrical infrastructure should also be assessed for optimal projector placement and connection.
What specifications should I look for when choosing a projector?
When selecting a projector, focus on resolution and brightness. Aim for at least 4K resolution and a lumens rating that suits your room’s lighting conditions. For spaces with some natural light, a minimum of 2,000 lumens is recommended, while dedicated dark environments can work well with 1,500 lumens. Additionally, ensure compatibility with your screen size and type.
What is the importance of proper projector mounting?
Proper projector mounting is crucial for both aesthetic quality and equipment protection. It ensures that the projector remains stable, preventing damage that could occur from falls. Secure mounting also helps in achieving an accurate and undistorted image, enhancing your overall viewing experience.
How do I achieve optimal projector alignment and settings?
Optimal projector alignment involves using keystone correction for image distortion and adjusting color settings such as brightness, contrast, and color temperature. Using a laser level ensures accurate alignment. It’s essential to stabilize the projector for 15-20 minutes before final calibration and to test for image uniformity and focus across the screen to achieve the best quality visuals.
Recommended
Comments