Master the Whole Home Audio Workflow for Luxury Living
- garygarihanjr
- Sep 20, 2025
- 11 min read
Building a whole home audio system sounds complicated, but skipping the right first steps can leave you with muddled sound and constant frustration. Most people expect better speakers or fancier equipment to fix their problems. The real difference comes down to planning—rooms with high ceilings and open layouts can create up to 40 percent more audio reflection than smaller, enclosed spaces, and ignoring that fact is where most systems go wrong.
Table of Contents
Quick Summary
Key Point | Explanation |
1. Assess your audio needs comprehensively | Evaluate room dimensions, characteristics, and acoustics to understand your specific audio requirements. |
2. Choose equipment tailored to spaces | Select speakers based on room size and purpose, ensuring compatibility and quality match the environment. |
3. Plan an effective audio layout | Create a detailed floor plan that considers speaker placement for optimal sound coverage and minimal interference. |
4. Install wiring with precision | Use quality materials and careful routing to ensure reliable connectivity and maintain audio integrity across distances. |
5. Configure and test audio settings | Systematically adjust settings for each room and conduct performance tests to ensure clarity and balance in sound delivery. |
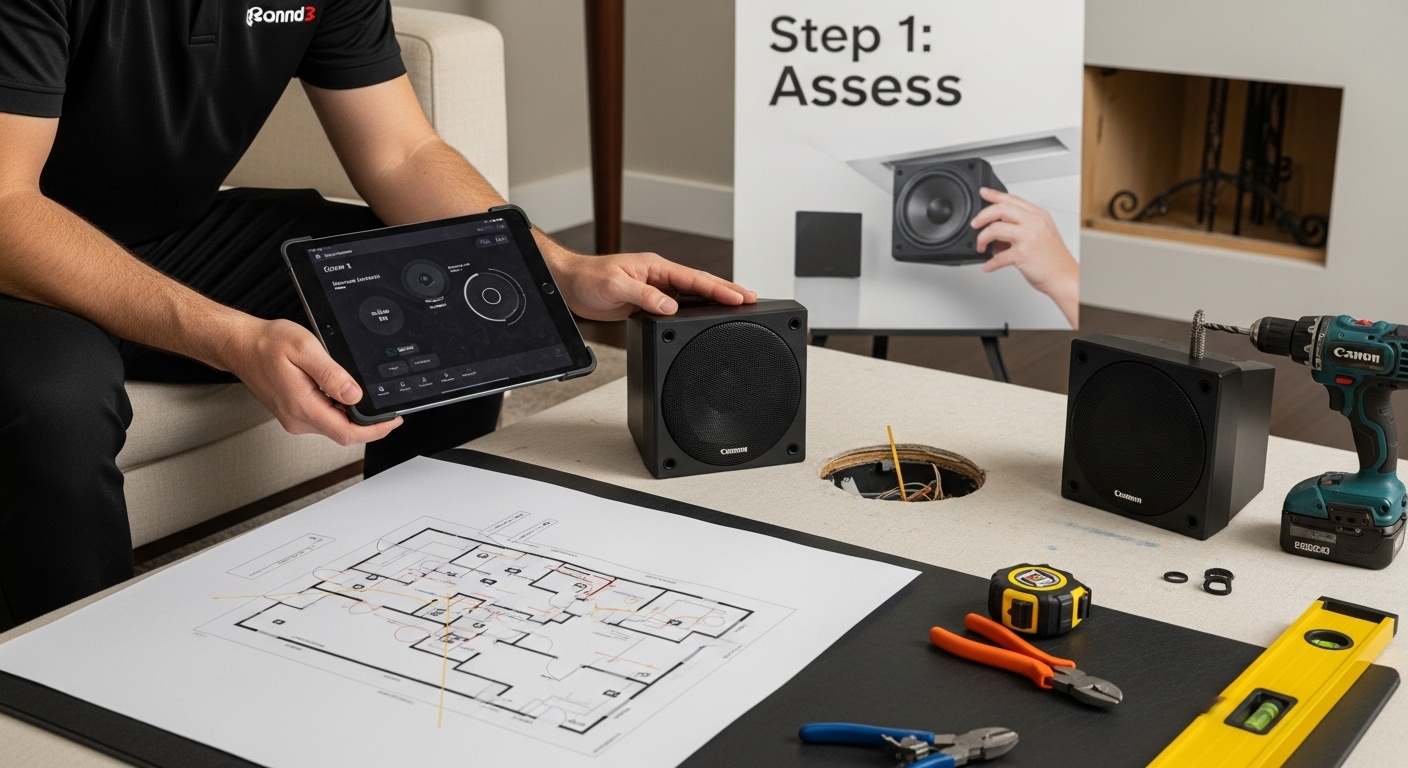
Step 1: Assess Your Home Audio Needs and Layout
Crafting the perfect whole home audio workflow begins with a comprehensive assessment of your living space and unique audio requirements. This critical first step determines the foundation of your entire audio system, ensuring seamless integration and optimal performance throughout your home.
Start by walking through each room and carefully evaluating how sound will be experienced. Consider the architectural characteristics of your space. High ceilings, open floor plans, and room dimensions dramatically impact sound distribution and acoustic quality. Older homes with plaster walls will have different acoustic properties compared to modern construction with drywall and insulation.
Key Spatial Considerations:
Total square footage of listening areas
Number of rooms requiring audio coverage
Architectural features like vaulted ceilings or open layouts
Proximity of audio zones to potential interference sources
Your assessment should include a detailed room-by-room analysis. Kitchens might require speakers that can withstand heat and moisture. Living rooms demand high-quality sound with minimal visual intrusion. Bedrooms need more intimate, controlled audio experiences. Outdoor spaces require weather-resistant equipment capable of delivering consistent performance.
Measure each room’s dimensions precisely. Calculate potential speaker placement locations while considering furniture arrangement, electrical outlets, and existing infrastructure. Take photographs of potential installation areas to help visualization and future planning. Some rooms might require in-ceiling speakers, while others could benefit from discrete wall-mounted or bookshelf options.
Here is a comparison table to help you evaluate speaker mounting options based on installation needs and room characteristics.
Mounting Option | Ideal Room Type | Key Advantage |
In-ceiling | Kitchens, open areas | Discreet, saves wall/floor space |
On-wall | Living rooms, smaller spaces | Makes use of vertical space |
Bookshelf | Bedrooms, offices | Portable, flexible positioning |
Outdoor/Weather | Patios, outdoor zones | Weather-resistant and durable |
According to KQED Teach’s audio project implementation guidelines, successful audio system design requires careful pre-planning and comprehensive spatial analysis. Understanding your specific environmental constraints allows for more intelligent equipment selection and placement.
Finally, document your findings meticulously. Create a comprehensive room-by-room spreadsheet tracking dimensions, potential speaker locations, and unique acoustic challenges. This documentation becomes your roadmap for subsequent installation stages, ensuring a methodical approach to building your whole home audio workflow.
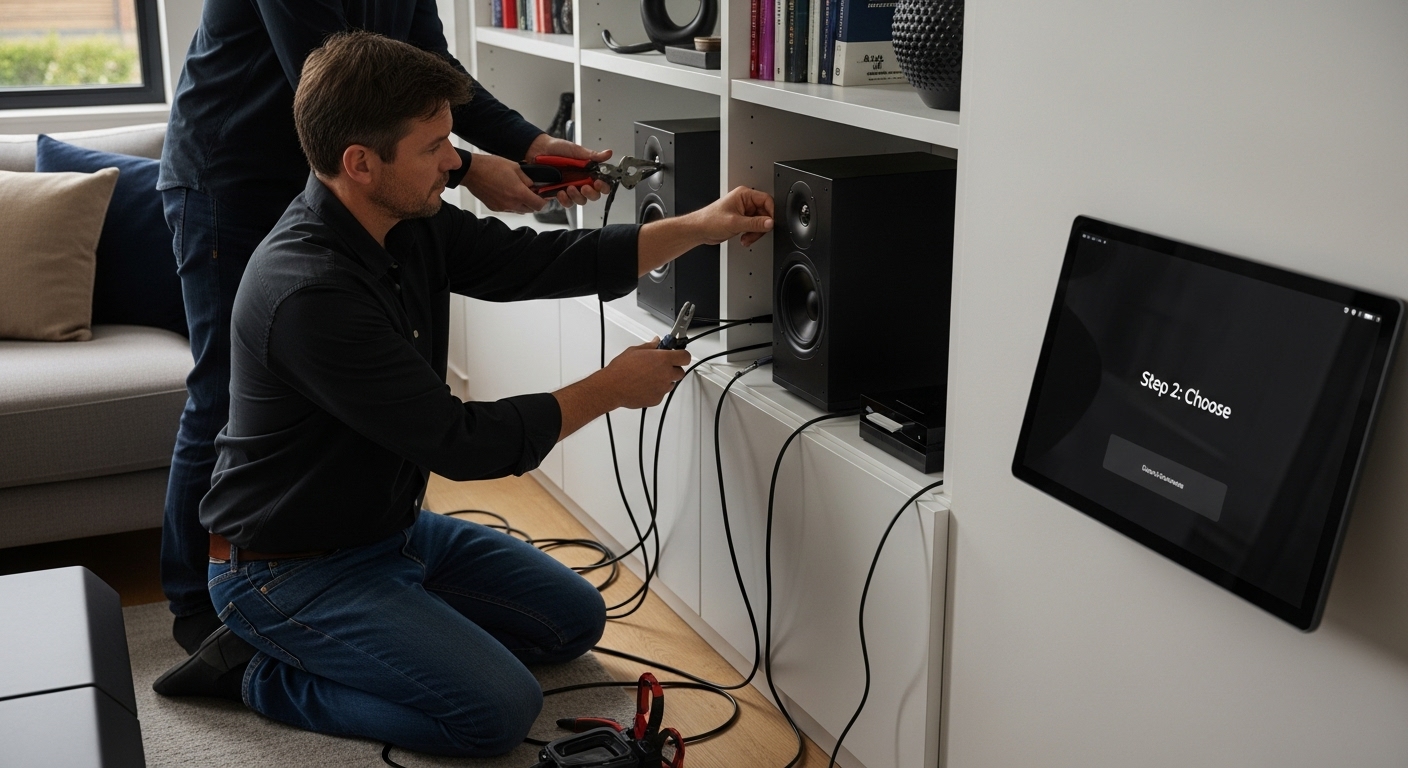
Step 2: Choose the Right Audio Equipment and Speakers
Selecting the appropriate audio equipment transforms your whole home audio workflow from a basic sound system into an immersive, intelligent audio experience. The right speakers and components become the critical infrastructure that delivers seamless sound across your living spaces.
Begin by understanding the unique acoustic signature of each room. Different spaces demand specialized speaker configurations. Open living areas might benefit from distributed speaker arrays that create consistent sound coverage, while bedrooms require more intimate, focused audio solutions. Consider speakers that offer flexible mounting options in-ceiling, on-wall, or standalone to match your room’s architectural characteristics.
Essential Speaker Selection Criteria:
Impedance compatibility with amplification system
Frequency response range matching room acoustics
Weather resistance for outdoor or moisture-prone areas
Power handling capabilities
Aesthetic design complementing interior decor
When evaluating audio components, prioritize systems that support integrated control mechanisms. Look for equipment with network connectivity that allows centralized management through smartphone apps or dedicated control panels. Wireless speakers with robust bluetooth and wifi capabilities provide maximum flexibility, enabling you to stream audio from multiple sources without complex wiring installations.
According to KQED Teach’s audio project implementation guidelines, successful audio system design requires understanding both technical specifications and practical installation constraints. Professional-grade speakers might offer superior sound quality, but they must also integrate smoothly with your home’s existing infrastructure.
Consider future expandability when making equipment selections. Modular audio systems that allow gradual upgrades provide long-term value. Invest in components from manufacturers offering comprehensive ecosystem support, ensuring seamless integration and potential future enhancements to your whole home audio workflow.
Finalize your equipment selection by creating a detailed inventory.
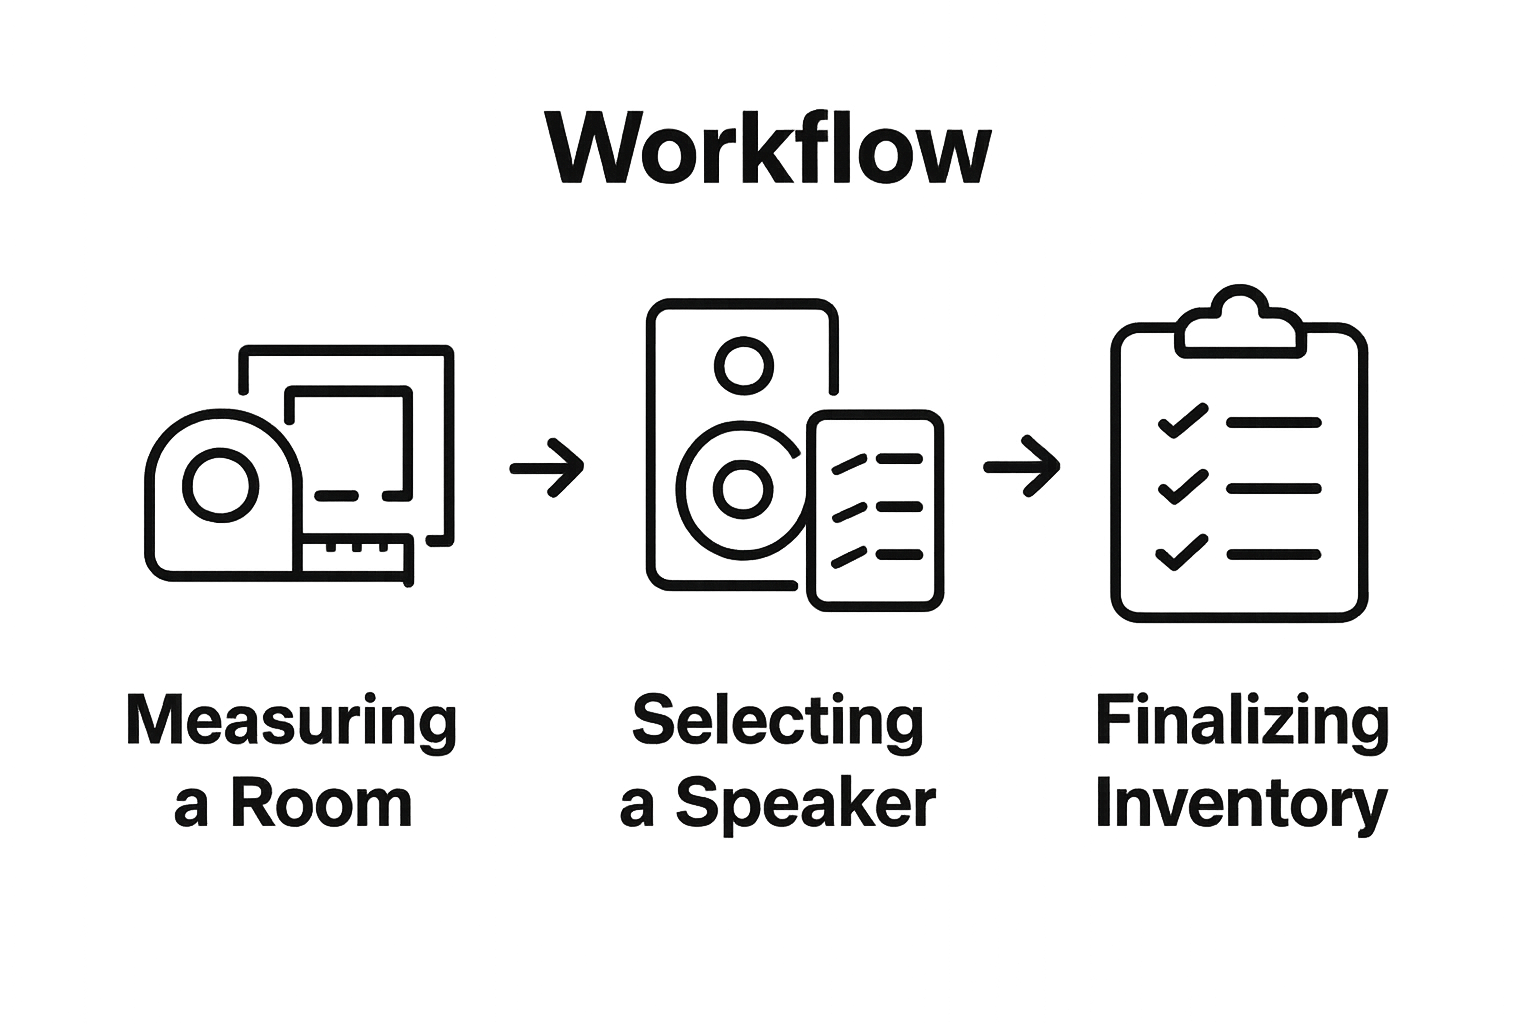
Document each speaker’s specifications, recommended placement, and compatibility with your overall audio network. This meticulous approach transforms equipment selection from a simple purchasing decision into a strategic design process that guarantees optimal audio performance throughout your home.
Step 3: Design Your Whole Home Audio System Layout
Designing your whole home audio system layout represents the critical blueprint that transforms individual audio components into a cohesive, intelligent sound ecosystem. This strategic planning stage determines how seamlessly music and audio will flow through your living spaces, creating an immersive listening experience that adapts to your lifestyle.
Begin by creating a detailed floor plan that maps every potential audio zone. Use graph paper or digital design software to sketch precise measurements, marking electrical outlets, architectural features, and potential speaker locations. Critical positioning considerations include maintaining clear sound pathways, avoiding acoustic dead zones, and ensuring minimal signal interference.
Key Layout Planning Elements:
Distance between speaker zones
Potential wireless signal coverage
Electrical infrastructure requirements
Acoustic reflection and absorption zones
Future expansion possibilities
Consider the unique acoustic characteristics of different rooms. Open floor plans require speakers with wider dispersion patterns, while smaller spaces might need more focused sound projection. Strategically place speakers to create balanced sound fields that minimize echo and provide consistent audio coverage. Remember that speaker placement impacts not just sound quality but also the visual aesthetic of your living spaces.
According to Cornell University’s Audio-Visual Standards, successful system design demands meticulous attention to technological integration and user experience. This means thinking beyond mere speaker placement and considering how users will interact with the audio system across different rooms and scenarios.
Document your layout plan comprehensively. Create a digital or physical reference that includes precise speaker locations, recommended cable routing, and potential amplification or network connection points. Include photographs or detailed sketches that capture the nuanced positioning of each audio component. This documentation serves as both a planning tool and a future reference for installation and potential system upgrades.
Finalize your layout by performing a virtual sound simulation. Use audio design software or consult with professional installers to validate your speaker placement strategy. This step ensures that your whole home audio workflow will deliver a truly immersive and seamless listening experience across every room in your home.
Step 4: Install Wiring and Connect Components
Installing wiring and connecting components represents the most technically demanding phase of your whole home audio workflow. This critical step transforms your carefully designed audio system from a conceptual plan into a functional, integrated network of sound transmission and control.
Begin by preparing your workspace with professional-grade tools. Essential wiring installation requires precision and careful planning. Select high-quality speaker wire with appropriate gauge thickness based on the distance between amplifiers and speakers. Thicker wire reduces signal loss and maintains audio integrity across longer cable runs. Purchase wire with color-coded insulation to simplify connection tracking and minimize installation errors.
Critical Wiring Installation Requirements:
Low-voltage cable routing away from electrical lines
Proper wire gauge selection
Secure cable management
Protection from potential environmental damage
Clear labeling of all connection points
Carefully map your cable routes before drilling or cutting into walls. Use fish tape or cable pulling tools to navigate wires through tight spaces without damaging existing infrastructure. When possible, utilize existing conduits or create dedicated cable pathways that protect your audio system’s wiring from potential interference or physical damage. Consider running additional empty conduits to accommodate future system expansions or technology upgrades.
According to Humboldt County Office of Education’s wiring standards, maintaining proper separation between audio cables and electrical lines prevents signal interference and ensures optimal sound quality. This means strategically routing low-voltage audio cables away from high-voltage electrical wiring, using cable trays or separate conduits when possible.
Connect your audio components methodically, verifying each connection’s integrity before moving to the next. Use high-quality connectors and ensure tight, secure attachments that minimize signal loss. Test each speaker and audio zone individually, checking for proper polarity and sound clarity. Document your wiring configuration with detailed photographs and diagrams, creating a reference for future maintenance or troubleshooting.
Below is a table summarizing essential tools and materials mentioned for wiring installation, along with their specifications and purposes.
Tool/Material | Specification/Purpose |
Speaker wire | Choose proper gauge for distance; color-coded for easy ID |
Fish tape/cable puller | Navigates wires through tight/hidden spaces |
Wire labeling materials | Mark connection points to simplify troubleshooting |
Wire connectors | Ensure secure, low-loss connections |
Cable trays/conduits | Protects wires and allows future expansions |
Professional-grade tools | For measuring, cutting, and managing cables |
Photographic records | Document installation and connections for future reference |
Finalize your installation by performing comprehensive system diagnostics. Validate that each audio zone functions correctly, speakers produce clear sound, and wireless network connections remain stable. Your meticulous approach during this installation phase guarantees a robust, reliable whole home audio workflow that will deliver exceptional sound experiences for years to come.
Step 5: Configure Audio Settings and Test Performance
Configuring audio settings and testing performance represents the final calibration stage of your whole home audio workflow, transforming your meticulously installed system into a precision-tuned sound environment. This critical step ensures that every speaker delivers optimal audio quality across different rooms and listening scenarios.
Begin by accessing your audio system’s central control interface. Systematic configuration requires patience and methodical adjustment. Start with basic settings like volume levels, bass and treble equalization, and sound mode selections. Each room might demand unique audio profile settings based on its acoustic characteristics and intended use. A kitchen speaker system might require different equalization compared to a home theater or bedroom audio setup.
Performance Testing Checklist:
Verify synchronized audio across different zones
Test volume consistency between rooms
Check wireless connectivity stability
Validate sound clarity at various volume levels
Confirm multi-room audio transition smoothness
Proceed with comprehensive zone-by-zone testing. Play diverse audio content that challenges your system’s capabilities. Use music with complex instrumentation, movies with dynamic sound stages, and audio tracks featuring wide frequency ranges. This approach helps identify potential audio dead spots, interference issues, or speaker performance variations across different rooms.
According to The Library of Congress’s listening space guidelines, creating an optimal audio environment involves more than technical configuration. Consider the psychological impact of sound distribution and how different audio profiles can enhance or detract from your living experience.
Utilize built-in diagnostic tools or smartphone apps that came with your audio system. These applications often provide advanced calibration features, allowing precise sound field adjustments and real-time performance monitoring. Some systems offer automatic room correction technologies that use microphone-based measurements to optimize audio output based on specific spatial characteristics.
Finalize your configuration by creating custom audio presets for different scenarios. Design specific sound profiles for entertainment, relaxation, background music, and critical listening. Document your final settings, creating a reference guide that allows future adjustments or helps troubleshoot potential performance issues. Your meticulous approach ensures a whole home audio workflow that delivers exceptional sound quality tailored to your unique living environment.
Step 6: Optimize User Interface and Control Systems
Optimizing the user interface and control systems transforms your whole home audio workflow from a technical installation into an intuitive, seamless experience. This critical stage focuses on creating a user-friendly ecosystem that allows effortless audio management across multiple devices and rooms.
Begin by exploring the central control platform for your audio system. Comprehensive control integration means selecting interfaces that provide intuitive navigation and robust functionality. Smartphone apps, touchscreen panels, and voice control systems should offer consistent, easy-to-understand controls that work harmoniously across different rooms and audio zones.
Key Control System Design Elements:
Unified interface across multiple devices
Customizable audio zone management
Simple volume and source selection
Intuitive playlist and streaming controls
Consistent user experience in every room
Create custom audio profiles that match different lifestyle scenarios. Design preset configurations for morning routines, evening relaxation, entertainment modes, and background listening. These personalized settings allow instant audio environment transformation with a single touch or voice command. Consider developing separate profiles for individual family members, enabling personalized audio experiences that adapt to specific preferences.
Implement a hierarchical access control system that provides different interaction levels. Some interfaces might offer full system control, while others provide limited functionality for guests or children. This approach ensures system security while maintaining flexibility for different user types.
According to Purdue University’s smart home interaction research, successful user interfaces prioritize simplicity and predictability. Focus on creating control systems that feel natural and require minimal learning curve. This means designing interfaces with clear visual cues, responsive touch controls, and logical navigation paths.
Test your control system thoroughly across multiple scenarios. Verify that wireless connections remain stable, touch responses are instantaneous, and voice commands work consistently in different rooms. Document any potential usability challenges and refine your interface design accordingly.
Finalize your control system optimization by creating a comprehensive user guide. Include screenshots, step-by-step instructions, and troubleshooting tips that help every household member understand and enjoy the whole home audio workflow. Your meticulous approach ensures a technology ecosystem that is both powerful and approachable.
Elevate Your Whole Home Audio to True Luxury
Have you invested hours in room-by-room analysis, equipment selection, and meticulous planning, only to feel unsure your whole home audio vision will translate into seamless reality? Achieving smooth transitions, crystal-clear sound in every space, and truly effortless control can be a challenge, even with the best intentions. Working through cable routing, optimal speaker placement, and user interface setups often creates frustration for busy homeowners striving for premium results.

Don’t leave your luxury living ambitions to chance. Trust the experts at Techology Experts to bring your custom whole home audio workflow to life. Our team specializes in advanced planning, flawless installation, and intuitive smart home controls tailored to your exact needs. Let us show you real-world project examples, advanced integration with systems like Control4, and true concierge service from the beginning to the final user experience. Visit our main page now and schedule your private consultation. Make your whole home audio dream a reality today—before you settle for anything less than exceptional.
Frequently Asked Questions
What should I consider when assessing my home audio needs?
When assessing your home audio needs, consider room dimensions, architectural features, and the intended audio experience for each space. Evaluate factors such as sound distribution, potential interference sources, and specific requirements for spaces like kitchens, living rooms, and outdoor areas.
How do I choose the right audio equipment for my home audio system?
Choosing the right audio equipment involves understanding the unique acoustic signature of each room, speaker configurations, and the compatibility of components. Consider factors like impedance, frequency response, weather resistance, and the aesthetic design of speakers to match your decor.
What are some best practices for designing a whole home audio system layout?
Best practices for designing your audio system layout include creating a detailed floor plan that maps audio zones, ensuring clear sound pathways, and avoiding acoustic dead zones. Position speakers to maintain balanced sound fields and consider the visual impact of their placement to enhance both function and aesthetics.
How can I optimize the user interface for my whole home audio system?
To optimize the user interface, choose a central control platform that integrates various devices and provides intuitive navigation. Create customizable audio profiles for different scenarios, and ensure the system is user-friendly for all household members. Testing the system across various scenarios can help refine usability.
Recommended
Comments